Create a New Portal
Creating a new portal requires access credentials that only an administrator may set up.
-
**
Click on Site in the toolbar then click the Add New Portal button.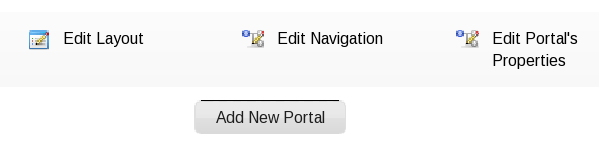
-
**
This opens the Create New Portal window which contains the Portal Templates tab. By default, the template used in new portals is 'Classic'.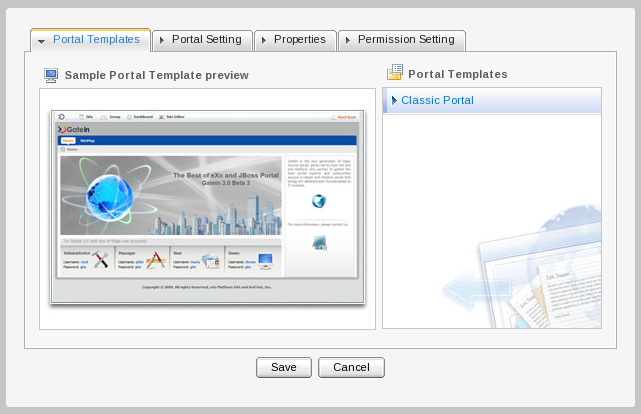
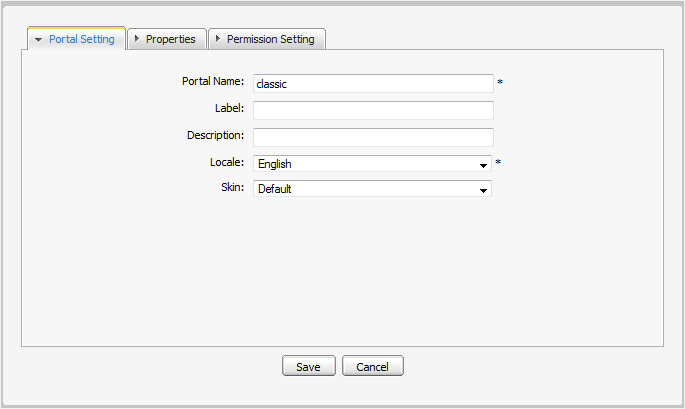
Select the Portal Setting tab.

-
**
Enter a string for the Portal Name field. This field is required and must be unique. Only alphabetical, numerical and underscore characters are allowed for this field and the name must have at least 3 characters. -
**
Select the default display language for the portal. -
**
Select a skin for a portal. -
**

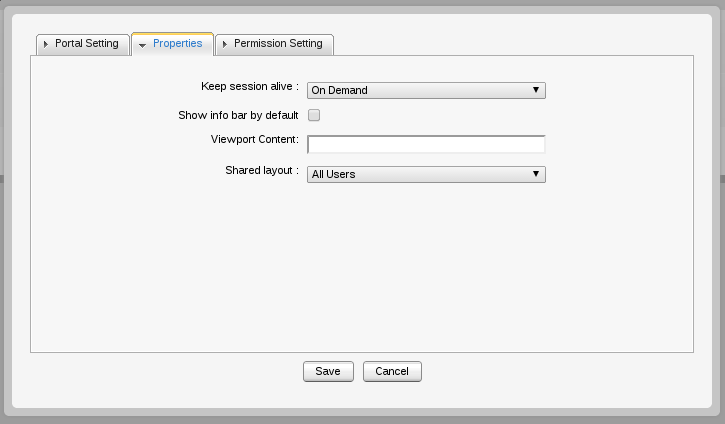
Click on the Properties tab to set the properties for the portal. There are 4 properties which can be specified here:
-
Keep Session Alive: Specifies the session behaviour for the portal. It has 3 options
-
Never: The session will never timeout, even if an application requests it.
-
On-demand: The session will timeout if an application requests it
-
Always: The session will time out after a set period
-
-
Show Info bar by default: Enables or disables the default behaviour for adding an info bar around portlets when they are added to a page.
-
Viewport Content: Used to set the viewport metatag for the portal. Default value is empty which prevents the metatag from being added.
-
Shared Layout: Specifies if all users should have access to the toolbar or only administrators. Useful if a particular site would not like to have the toolbar shown or not. Default is to display for all users.
-
**
Click on the Permission Setting tab and set the permissions for the Portal.
The access permissions list for the portal is empty by default. You have to select at least one or tick on the Make it public check box to assign access permission to everyone. -
**
Click Save
You also can edit or delete a portal. See sect-User_Guide-Manage_Portals-Edit_a_Portal or sect-User_Guide-Manage_Portals-Delete_a_Portal for more details.
Edit a Portal
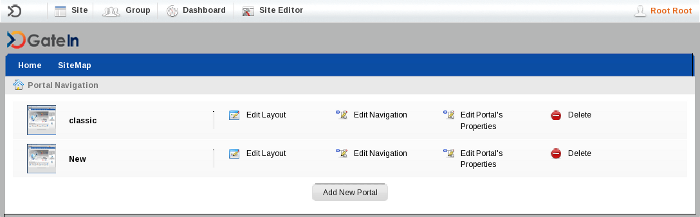
An administrator can change many aspects of a portal:
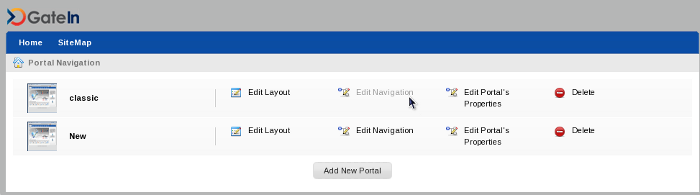
Click Site on the Toolbar. A list of active portals will appear:
Edit Layout
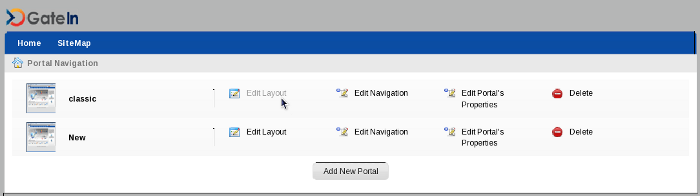
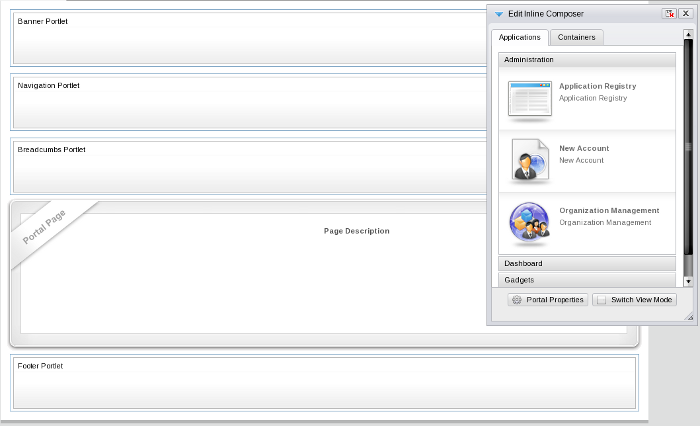
To edit the layout of a portal, click the Edit Layout key beside the active portal you wish to edit:
New applications, containers or gadgets can be dragged from the Edit Inline Composer window (inset on the right of the screen) onto the main portal body.
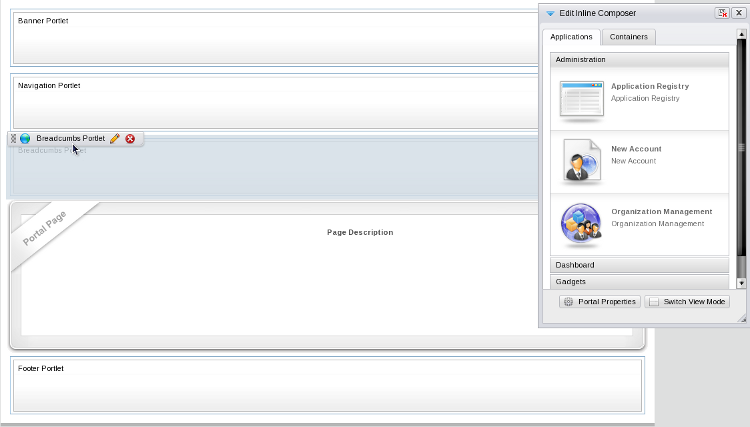
Elements already in place in the portal body can be rearranged or removed as required. Use the relevent button in the overlay that appears when you mouse-over each element:
Edit Navigation
The portal navigation can be edited by clicking Site in the Toolbar and selecting the Edit Navigation link next to the portal you wish to edit:
The Navigation Management window appears:

More information about actions possible in this window can be found in Manage Navigation Nodes
Edit Properties
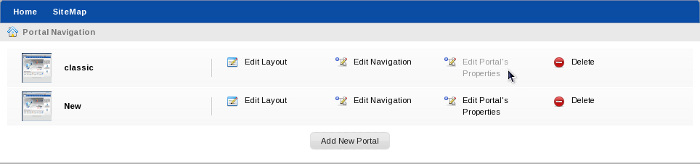
Portal properties such as language, description, label, skin and permissions can be set by clicking on Site in the Toolbar and selecting the Edit Portal Properties link for the portal you wish to edit:
The various tabs available in the edit properties window give access to the properties that can be edited for the chosen portal:
The various options are also available under the 'properties' tab.
The 4 properties which can be specified here are:
-
Keep Session Alive: Specifies the session behaviour for the portal. It has 3 options
-
Never: The session will never timeout, even if an application requests it.
-
On-demand: The session will timeout if an application requests it
-
Always: The session will time out after a set period
-
-
Show Info bar by default: Enables or disables the default behaviour for adding an info bar around portlets when they are added to a page.
-
Viewport Content: Used to set the viewport metatag for the portal. Default value is empty which prevents the metatag from being added.
-
Shared Layout: Specifies if all users should have access to the toolbar or only administrators. Useful if a particular site would not like to have the toolbar shown or not. Default is to display for all users.
Click on Save or Cancel to either set or discard any changes you have made in the portal.
Delete a Portal
-
**
To delete a portal click on the Delete icon beside the portal you no longer require.
The confirmation message will appear: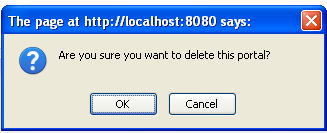
-
**
Click OK
Change Portal Skins
Skins are graphic styles used to provide an attractive user interface. Each skin has its own characteristics with different backgrounds, icons, and other visual elements.
Skins can be changed temporarily (and are reset at log-out) or permanently.
-
Change the skin temporarily
-
**
Mouse over the Start menu and click on Change Skin.
-
**
Select a new skin from the Skin list. By clicking on the skin name a picture will appear in the preview pane.
-
**
Click Apply to apply to the portal.
-
-
Change the skin permanently
-
**
Click on Site, then Edit Portal's Properties. -
**
In the Portal Setting tab, select another skin Skin list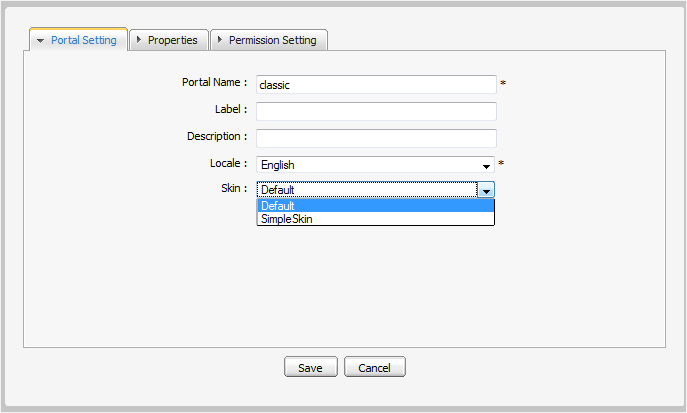
-
**
Click Save to finish your change.
More information about adding skins to a portal can be found in the Reference Guide for this product.
-
Switching between Portals
Mouse over Site on the Toolbar for a list all portals in which you have at least access rights:

Users switch between Portals by clicking on the desired portal. Please wait a few seconds for the change to take effect.